Blog, Grow, Learn, Mushroom Growing, Social Distancing Series
Social Distancing Series-How to prepare your substrate
Welcome back for the second installment of our #SocialDistancing Series in response to Covid-19. This week’s Social Distancing lesson is going to be about sterilizing substrates. A crucial step in growing a successful crop, sterilizing and preparing your substrate is the very first step in getting growing.
Step 1: Choose your substrate
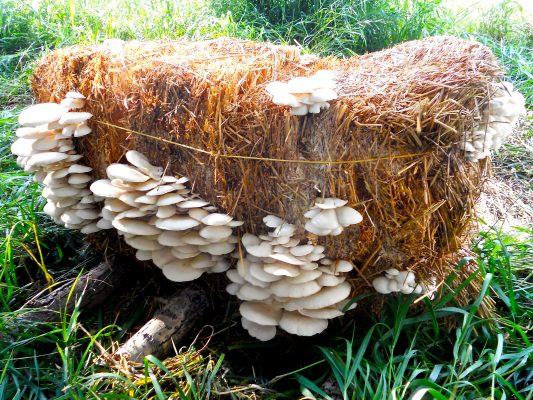
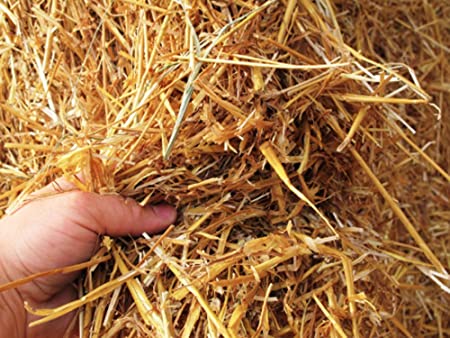
As stated in our previous post, your choice of substrate is mostly dependent on the strain of mushroom you have decided to grow. For the purposes of this post we are going to focus on growing oyster mushrooms. For this we will be using straw. Please be sure to research a reliable method for growing whatever your particular strain is to ensure that you have the right substrate prepared.

Step 2: Choose a sterilization vessel
In our previous post we discussed the various vessels for sterilization. For the average home grower we recommend a canning pot. It is an affordable, readily available solution that many folks already have on hand. This what we will be focusing on today.
Step 3: Gather your supplies
You will need:
- a canning pot
- a miniature bale of straw
- access to water
- a heat source
- A stainless steel or digital pocket thermometer
Step 4: Get sterilizing
When we say sterilize, we are actually talking about pasteurization which is very easy to do at home.
- Remove and wrappings or bindings from your bale of straw.
- Break up bale into your canning pot.
- Cover straw with water.
- Now, place the pot of straw and water onto your heat source, and bring to a boil.
- Reduce heat to allow it to come to a simmer, and allow the mix to simmer for 1-2 hours. Use your thermometer to monitor the temperature. I should stay between 65-80 C/149-176 F.
- That’s it!
Once the mixture is cool enough to handle, you can move onto the next step… Inoculation!
Ready to get started? Hop on over to our shop for everything you need to get growing. Still have questions? Contact one of our knowledgeable representatives now.

